
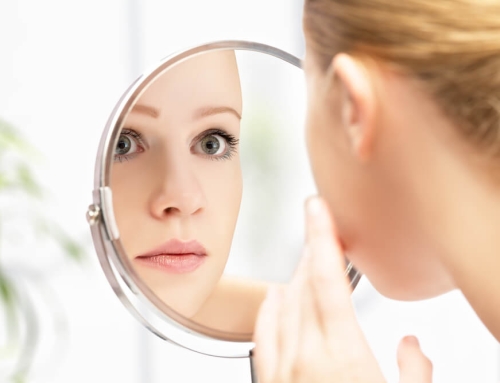
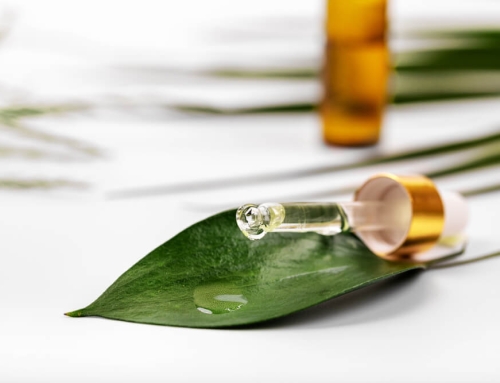
A facial is a series of different treatments that target a variety of skin concerns. While some aspects of a facial are too dangerous to be recreated at home without the help of a professional, such as extractions and chemical peels, there are others that you can easily do yourself.
Here are the steps to follow to treat your skin to a spa-quality facial from the comfort of your own home.
Set the Scene

In addition to the skin care benefits they bring, facials are also extremely relaxing – they’re a great way to de-stress and enjoy some “me time”.
While this step isn’t vital, creating a calm and tranquil environment for your DIY facial will give the experience much more of a spa-like feel.
To do this, pick a quiet room in your home and dim the lights. You could also light a few candles for extra ambience. Some soft and soothing music will never go amiss, and, if you really want to go all out, you could even make use of aromatherapy to give the room a beautiful scent.
Then, tie your hair up so that it is held out of your face and put on some comfy clothes – one of the advantages to an at-home facial is that you can wear your favorite sweats without having to worry about anyone seeing you!
Double Cleanse
Cleansing is always the very first step of a facial. After all, if you don’t clear away all of the dirt, impurities, and dead skin cells that are currently sitting on the surface of your skin, then any other products that you apply afterwards won’t have much of an effect.
Everyone cleanses in their own way, but for a thorough, facial-esque cleanse, go for the double cleansing method.
This involves cleansing your face with an oil-based cleanser first, before following up with a foaming, water-based cleanser.
Why the extra step?
Because an oil-based cleanser is great for softening the sebum on your skin and then dissolving – nothing tackles oil quite as well as another oil! Spend a little longer than usual on this part, massaging the cleanser into your skin for five to ten minutes. Don’t forget to also work your cleanser into your neck and chest, massaging it in circular, upward motions.
The water-based cleanser will then remove away all of the impurities that your oil-based cleanser softened up, leaving you with a fresh and deeply-cleansed face. The 24K Mousse Cleanser is great for this as it forms a rich and creamy lather that feels so satisfying when massaged into the skin.
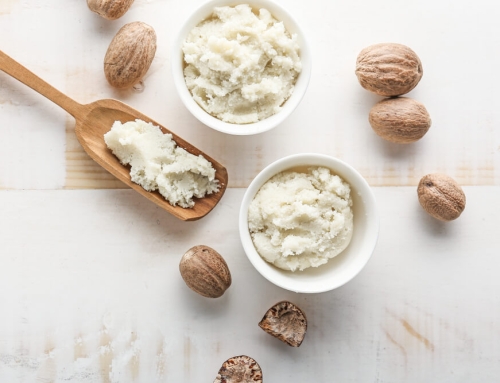
Exfoliate
After cleansing, the next step in a spa facial is usually extractions, which involves manually clearing clogged pores. However, this is a technique that should always be left to the professionals, as doing it incorrectly could cause some serious damage to your skin.
Fortunately, there are other ways to safely clear clogged pores at home, which is where exfoliation comes in…
There are two main types of exfoliation to choose from:
- Physical Exfoliation – this makes use of an exfoliant that contains abrasive particles to physically slough off dead skin cells from the surface of your skin
- Chemical Exfoliation – this makes use of certain chemicals that dissolve away the glue-like substance that keeps dead skin cells attached to the skin, allowing them to be washed away
Which is better?
They both have their pros and cons, but chemical exfoliation tends to not only be more effective, but also gentler on the skin. Look for one that not only contains an alpha hydroxy acid, but also vitamins and soothing botanical extracts for extra skin benefits. The 24K Multi-Vitamin Deep Peeling + Mandelic Acid is always a good choice – simply pat your skin dry after cleansing and then massage this gel in, before rinsing off.
Steam
Feel free to skip this step, but if you enjoy the steam session that often accompanies a professional facial, this is easy enough to do yourself at home.
Of course, with boiling water involved, you need to be careful…
Pour some hot water into a bowl and add in a few drops of your favorite essential oil. Then, place a towel over the bowl and put your face under this, so that your skin is about a foot away from the water. Do this for about five minutes – as relaxing as it may be, don’t be tempted to over-steam, as the heat can exacerbate various skin issues.
A facial steam brings with it a few different benefits, including:
- It opens up the pores, allowing dirt, trapped sebum, and impurities to be purged
- It increases oil production, helping to hydrate the skin
- It makes your skin more permeable, meaning that it will be able to absorb other products much more effectively
- It boosts circulation, which then encourages natural collagen and elastin production
If you’re already dealing with facial redness or rosacea, then give the steam a miss, as this will only worsen your skin condition.
Massage
Now that your skin is pretty much as clean as it’s going to be, it’s time to treat your face to a gentle massage. Gentle is the key word here – this will stimulate blood flow as well as certain facial muscles, giving you a brighter and tighter appearance. However, massaging too vigorously will have the opposite effect, with all of that friction and pulling exacerbating fine lines and wrinkles.
While you can use your fingers to give yourself a massage, the experience will feel so much more luxe if you have a dedicated facial massaging tool. Give the 24K HD Touch a try – it’s designed to be used with either a serum or a cream, and will leave your skin feeling wonderfully invigorated.
LED Light Therapy Treatments
Not all spas offer LED treatments, but at-home devices make it possible to easily do this yourself at home.
Light therapy is becoming increasingly popular in the skin care industry, and it’s easy to see why. They are incredibly versatile, able to target such a wide range of different skin issues, with each wavelength, or color, of light having its own individual effects.
Whether you want to minimize an acne breakout and regulate oil production or reduce the appearance of fine lines, wrinkles, and dark spots, LED light therapy can help. It can even target scarring, eczema, and rosacea, meaning that just about everyone would benefit from an at-home LED tool.
Multi-Masking
If you already use a face mask each week, then you can elevate this experience during your at-home facial by giving multi-masking a try.
Not heard of multi-masking before?
It’s exactly what it sounds like – making use of multiple face masks in one session. This can be done in a few different ways:
- Zoning – this means using different face masks on different areas of your skin at the same time. This is perfect for those who have combination skin, as you can simultaneously treat both dry and oily areas
- Layering – this involves layering one face mask over the top of another. The second mask ensures that all of the ingredients from the first mask are pushed into your skin, while also providing its own benefits
- One at a Time – this simply means using one face mask first, before rinsing it off and immediately following it up with another. This is the method to pick if the masks you want to use aren’t suitable for either zoning or layering
When multi-masking, it always helps to have a variety of different face mask types, such as:
- A Clay-Based Mask – these are ideal for detoxifying and cleansing. The 24K Advanced Facial Mask features two types of clay (bentonite and kaolin), along with a long list of botanical extracts and vitamins
- A Sheet Mask – sheet masks are great for layering, but be sure to choose one that can be used around the eyes as well as the rest of your face, such as the 24K Deep Tissue Rejuvenation Mask & Collagen Eye Renewal Mask
- A Creamy Mask – these are good for targeting drier and duller parts of your face, and work well for both layering and zoning. The 24K Bio-Brightening Pigment Balancing Mask is the one to go for if you also happen to be dealing with dark spots and hyperpigmentation
- A Thermal Mask – this is a must for the ultimate at-home spa experience, as the mask gently heats up as you massage it into your skin. The 24K Termica Energizing Mask is a good example, with this formula designed to deeply recharge your complexion
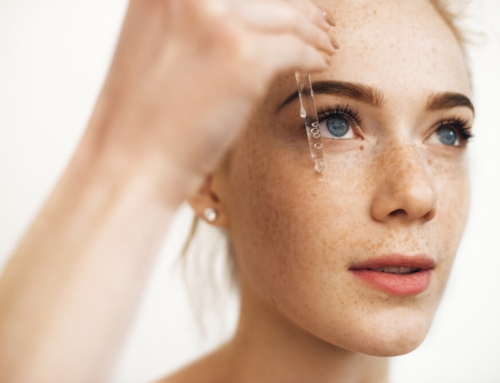
Eyes and Lips
It’s easy to forget about the eyes and lips when performing a DIY facial, but these two areas should never be neglected. The skin on both the eyes and the lips is actually much thinner and more delicate than the skin on the rest of your face, meaning that they really do need some extra attention once in a while.
While your eyes will already have benefited from the other steps in your facial, using one or two dedicated eye care products will allow this area to really thrive.
Begin with an eye serum, gently patting this into your skin with your ring finger. If you usually tend to rub your products in, then the patting technique may seem a little strange at first, but it’s so much more gentle. It doesn’t tug or stretch the skin in the same way that rubbing does, and also enhances product absorption.
Once you’re done with your eye serum, follow up with an eye cream.
If you’re dealing with any issues on the skin around your eyes, then now is the time to address them. Dark circles and puffiness are most common, so pick eye products that are able to target these, such as the 24K Dark Circle Eye Solution.
Then, give your lips a quick scrub, either with a dedicated product or just a dry toothbrush. Follow this up with a nourishing and moisturizing lip balm.
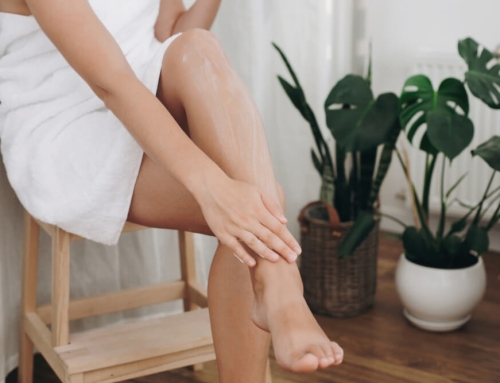
Moisturize
Although moisturizing is the final step in an at-home facial, many often choose to use a few different moisturizing products to really enhance skin hydration.
The best way to do this without clogging up your pores is by beginning with a light serum. Gently massage this into your skin, before following up with a moisturizer. Of course, if you want to use multiple serums, this can be beneficial too, just be sure to start with the lightest and thinnest and then work your way upwards.
When it comes to your moisturizer, pick one that is known for being rich and hydrating. Your skin has been prepared to receive maximum benefits from any products you now apply, so a moisturizer filled with potent active ingredients will really be able to work its magic when included in your DIY facial.
Again, choose a moisturizer that is suited to your skin type and concerns. For example, if you’re seeking anti-aging benefits, go for something like the 24K Multi-Vitamin Night Nourishment + Retinol – vitamin A is famous for being one of the most powerful anti-aging ingredients out there, and this formula contains two forms of the ingredient.
On the other hand, if your skin is already quite oily and acne-prone and you don’t want to overload it with anything too thick, the 24K Rose Gold Radiant Silk Cream is light and non-greasy, and has an impressive mattifying effect.
How Often Should You Give Yourself an At-Home Facial?
Facials are extremely beneficial, but they can also take quite a bit of time. For optimum results, try to aim for a weekly facial.
Of course, if this isn’t possible, then even treating yourself to a facial every few weeks will be beneficial. Plus, once you take a look at your skin after your facial is over, you will be able to see the improvements for yourself, and this will likely be enough to convince you to include a DIY facial into your weekly self care regime.
Just like a professional facial, an at-home facial can be customized to suit your specific requirements. Whether this means only following a few of the above steps, or perhaps adding in a couple of extra ones, a DIY facial can be a game-changer when it comes to the long-term health and appearance of your skin.


